このトピックでは、AngularアプリケーションにWebデザイナコンポーネントを組み込む方法について説明します。Angularアプリケーションサーバーを実行するには、NodeJSとAngularCLIが必要です。Angular CLIをインストールするにはコマンドプロンプトで次のコマンドを入力してインストールします。
npm install -g @angular/cli
- Visual Studio 2022を開き、「Angular and ASP.NET Core」テンプレートを選択して、新しいプロジェクトを追加します。
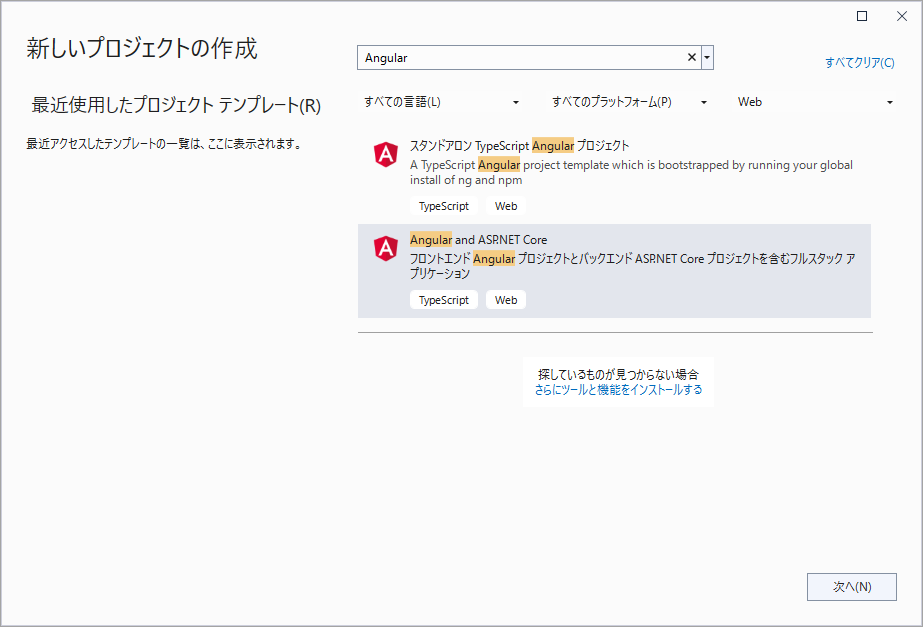
- プロジェクト名を入力し、[次へ]をクリックします。
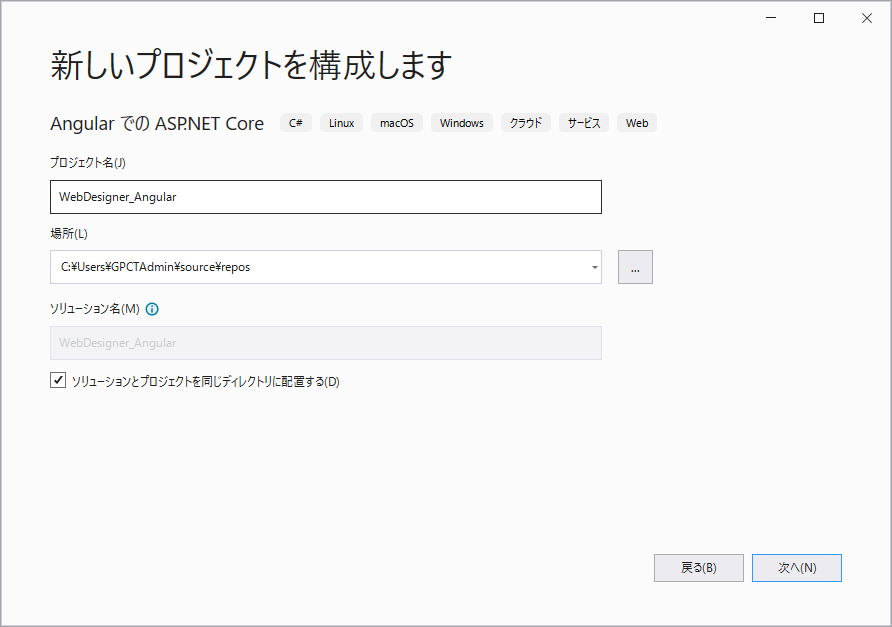
- フレームワークとして「.NET 8.0(長期的なサポート)」を選択し、他のオプションのチェックボックスを外します。

- [ソリューションエクスプローラー]で、ソリューションを右クリックし、[NuGet パッケージの管理]を選択します。
-
次のパッケージをプロジェクトに追加します。
MESCIUS.ActiveReports.Aspnetcore.Designer.jaMESCIUS.ActiveReports.Aspnetcore.Viewer.ja -
プロジェクトフォルダ内に[resources]フォルダを作成します。[resources]フォルダに、ビューワに表示するレポートを保存できます。
-
レポートの[ビルドアクション]プロパティが「埋め込みリソース」に設定されていることを確認します。
-
Program.csファイルを開き、次のように変更します。
Program.cs コードのコピーusing GrapeCity.ActiveReports.Aspnetcore.Designer; using GrapeCity.ActiveReports.Aspnetcore.Viewer; using GrapeCity.ActiveReports.Web.Designer; var builder = WebApplication.CreateBuilder(args); // コンテナにサービスを追加します。 builder.Services.AddControllers(); builder.Services.AddReportViewer(); builder.Services.AddReportDesigner(); var app = builder.Build(); app.UseDefaultFiles(); app.UseStaticFiles(); // HTTP要求パイプラインを構成します。 app.UseHttpsRedirection(); app.UseAuthorization(); var ResourcesRootDirectory = new DirectoryInfo(Path.Combine(Directory.GetCurrentDirectory(), "resources")); app.UseReportDesigner(config => config.UseFileStore(ResourcesRootDirectory, null, FileStoreOptions.NestedFoldersLookup)); app.MapControllers(); app.MapFallbackToFile("/index.html"); app.Run();
-
.clientプロジェクトでは、package.jsonファイルを開き、「dependencies」の下に次のパッケージを追加します。
"@mescius/activereportsnet-designer-ja": "^18.x.x",
"@mescius/activereportsnet-viewer-ja": "^18.x.x" - コマンドプロンプトで「.client」プロジェクトを開き、次のコマンドを実行してnpmパッケージをインストールします。
npm install
ビューワに関するファイルとフォルダは、現在のディレクトリにダウンロードされます。.\node_modules\@mescius\activereportsnet-designer-ja\dist. - .clientプロジェクトのsrc\appフォルダを展開します。app.component.tsファイルを開き、そのコードを次のコードに置き換えて、JSビューワのインスタンスを初期化します。
app.component.ts コードのコピーimport { HttpClient } from '@angular/common/http'; import { Component, OnInit, ViewEncapsulation } from '@angular/core'; import { arWebDesigner } from '@mescius/activereportsnet-designer'; import { JSViewer, createViewer } from '@mescius/activereportsnet-viewer'; import '@mescius/activereportsnet-designer/dist/web-designer.css'; import '@mescius/activereportsnet-viewer/dist/jsViewer.min.css'; @Component({ selector: 'app-root', templateUrl: './app.component.html', styleUrl: './app.component.css', }) export class AppComponent implements OnInit { forecasts: any; private viewer: JSViewer | null = null; constructor(private http: HttpClient) { } ngOnInit() { arWebDesigner.create('#ar-web-designer', { rpx: { enabled: true }, appBar: { openButton: { visible: true } }, data: { dataSets: { visible: true, canModify: true }, dataSources: { canModify: true } }, preview: { openViewer: (options: any) => { if (this.viewer) { this.viewer.openReport(options.documentInfo.id); return; } this.viewer = createViewer({ element: '#' + options.element, reportService: { url: 'api/reporting', }, reportID: options.documentInfo.id }); } } }); } ngOnDestroy() { this.viewer?.destroy(); arWebDesigner.destroy('#ar-web-designer'); } title = 'webdesigner_angular.client'; } -
app.component.htmlファイルを開き、その内容を次の内容に置き換えて、要素をホストします。
app.component.html コードのコピー<body> <div id="ar-web-designer" class="ar-web-designer"> <span class="ar-web-designer__loader"><b>AR WebDesigner</b></span> </div> </body>
- app.component.cssファイルを開き、内容を次のように変更します。
app.component.css コードのコピー@keyframes arwd-loader { from { color: #fff } to { color: #205f78 } } .ar-web-designer { width: 100%; height: 100% } .ar-web-designer__loader { display: flex; width: 100%; height: 100%; background-color: #205f78; color: #fff; font-size: 18px; animation-name: arwd-loader; animation-duration: .62s; animation-timing-function: ease-in-out; animation-iteration-count: infinite; animation-direction: alternate; justify-content: center; align-items: center } -
\src\styles.cssファイルを開き、次のセクションを追加します。
styles.css コードのコピーbody, html { width: 100%; height: 100%; margin: 0; padding: 0 } -
proxy.conf.jsファイルを開き、コードの「context」セクションを次のように更新します。
proxy.conf.js コードのコピーcontext: [ "/weatherforecast", "/api" ], -
[ビルド] > [ソリューションのビルド]をクリックして、ソリューションをビルドします。F5を押して実行します。