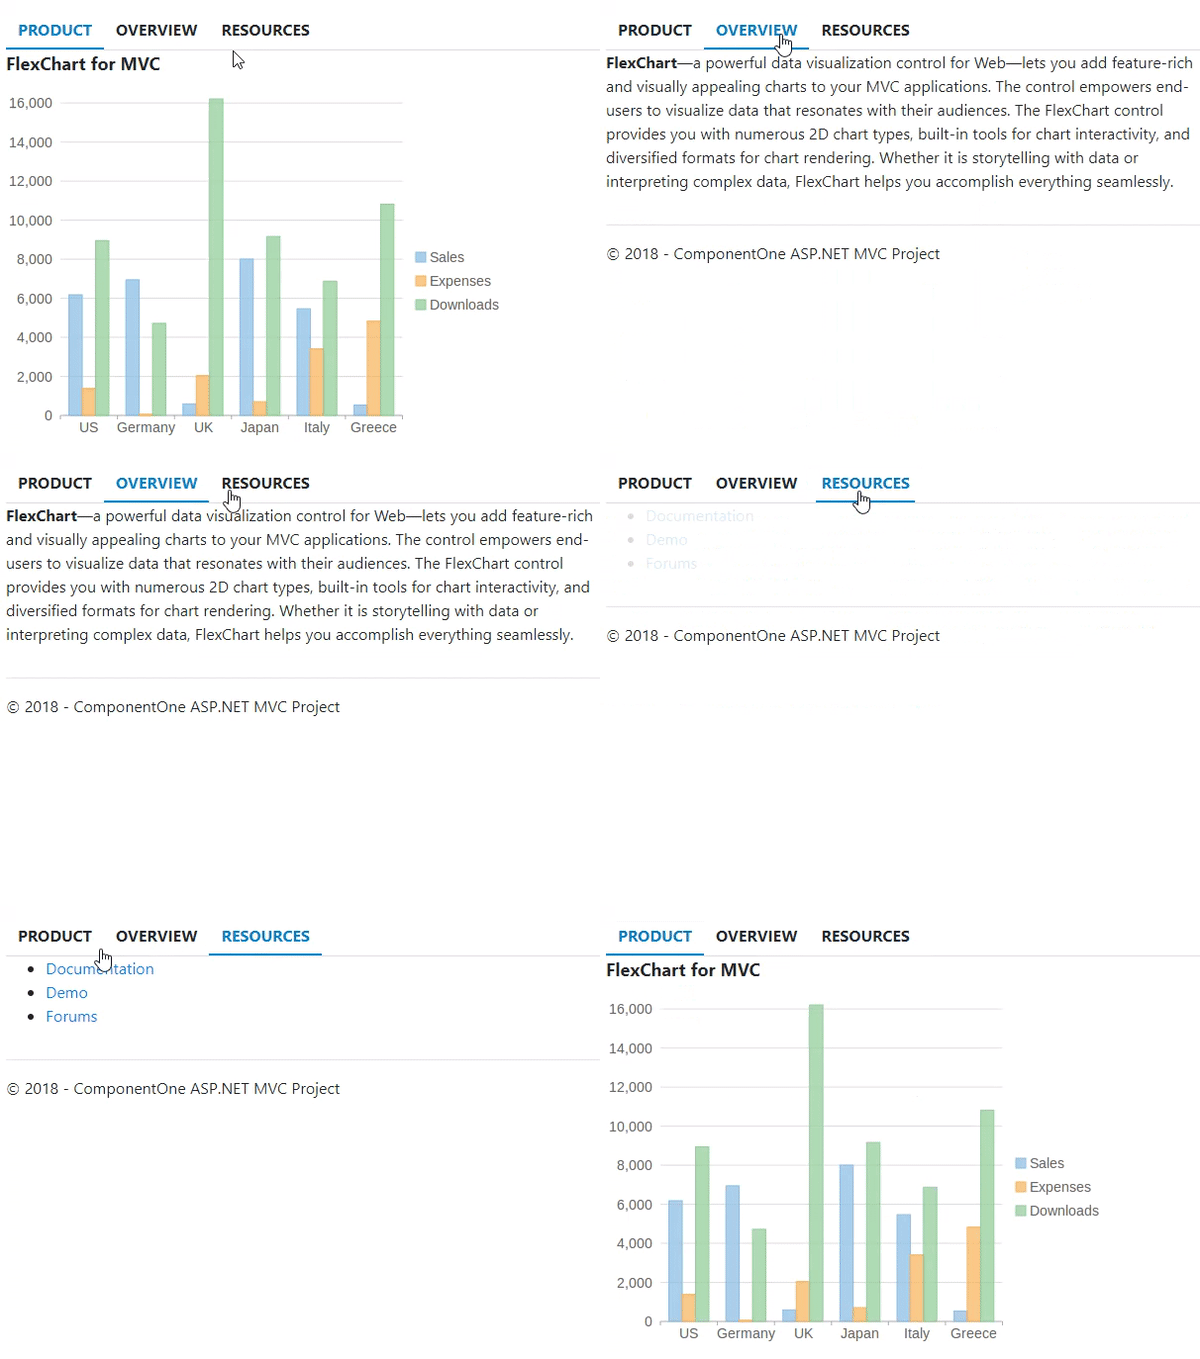
The quick start guides you through the steps of adding the TabPanel control to your MVC web application and adding data to it.
To accomplish this, follow these steps:

Create an MVC Application
Create a new MVC application using the ComponentOne or VisualStudio templates. For more information about creating an MVC application, see Configuring your MVC Application topic.
Back to TopAdd a TabPanel control and add data
Steps to add a TabPanel control to the application, are as follows:
Add a new Controller
- In the Solution Explorer, right click the folder Controllers.
- From the context menu, select Add | Controller. The Add Scaffold dialog appears.
- In the Add Scaffold dialog, follow these steps:
- Select the MVC 5 Controller - Empty template.
- Set name of the controller (For example:
TabPanelController). - Click Add.
- Replace the Index() method with the following method.
TabPanelController.cs コードのコピーpublic ActionResult Index() { return View(); }
- From the Solution Explorer, expand the folder Controllers and double click the
TabPanelController. - Place the cursor inside the method
Index(). - Right click and select Add View. The Add View dialog appears.
- In the Add View dialog, verify that the View name is Index and View engine is Razor (CSHTML).
- Click Add to add a view for the controller, and then copy the following code and paste it inside Index.cshtml.
The markup used to initialize the TabPanel control is a nested collection of div tags. The first div tag in the markup represents the TabPanel control. In this parent div tag, there exist few more div tags where each set of div tag represents a tab. Inside every div tag at this level, there is an a tag that renders the tab header and a div tag that renders the content pane.Index.cshtml コードのコピー<div id="tabPanel" style="width:500px"> <div> <a>Product</a> <div> <p style="font-size:large"><b>FlexChart for MVC</b></p> <!--Add a custom image--> <img src="~/flexchart.png" /> </div> </div> <div> <a>Overview</a> <div> <p><b>FlexChart</b>?a powerful data visualization control for Web?lets you add feature-rich and visually appealing charts to your MVC applications. The control empowers end-users to visualize data that resonates with their audiences. The FlexChart control provides you with numerous 2D chart types, built-in tools for chart interactivity, and diversified formats for chart rendering.Whether it is storytelling with data or interpreting complex data, FlexChart helps you accomplish everything seamlessly.</p> </div> </div> <div> <a>Resources</a> <div> <ul> <li><a href="https://developer.mescius.com/componentone/docs/win/online-flexchart/overview.html">Documentation</a></li> <li><a href="https://developer.mescius.com/demos">Demo</a></li> <li><a href="https://developer.mescius.com/forums">Forums</a></li> </ul> </div> </div> </div> @(Html.C1().TabPanel("#tabPanel"))
Build and Run the Project
- Click Build | Build Solution to build the project.
- Press F5 to run the project.
Append the folder name and view name to the generated URL (for example: http://localhost:1234/TabPanel/Index) in the address bar of the browser to see the view.