The ADO.NET provider for JSON can be used along with C1DataCollection and C1FlexGrid for WinForms to visualize data. C1FlexGrid for WinForms is one of the fastest datagrids available in the market that renders and displays large data sets quicker than any other .NET datagrid. It is a powerful grid packed with basic as well as advanced features like in-cell editing, sorting, filtering, merging, grouping, and much more.
C1DataCollection is a cross-platform .NET standard library, essential and highly utilized for manipulating and loading data that can be bound to a data-aware control.
The following tutorial demonstrates the use of DataCollection's virtualization feature along with FlexGrid to visualize data from ADO.NET provider for JSON.
Steps
- Create a new Windows Forms App
- Install the necessary components
- Drop the C1FlexGrid component to the form
- Use ADO.NET provider for JSON and C1DataCollection to visualize data
- Bind data to C1FlexGrid.
1. Create a new Windows Forms App
Follow the below steps to create a new Windows Forms App
- Open Visual Studio.
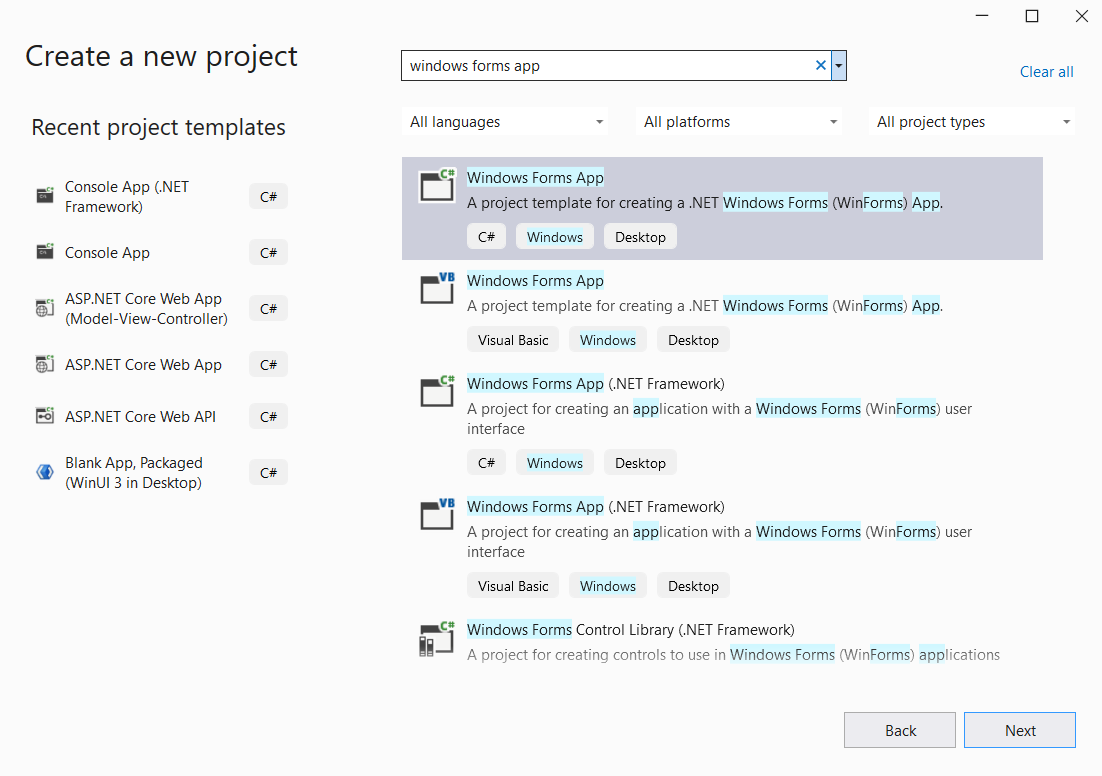
- Select Create a new project from the Get Started pane.
- In the Create a new project window, select Windows Forms App and click Next.

-
In the Configure your new project window, write your project name, choose location to save your project and click Create.
2. Install the necessary components
Follow the below steps to install the necessary components for the sample:
- From the Project menu, select Manage NuGet Packages. The NuGet Package Manager appears.
- Select nuget.org from the Package source drop down.
- In the Browse tab search and select the following components: C1.AdoNet.JSON, C1.DataCollection, C1.DataCollection.BindingList, C1.FlexGrid
- For each component, in the right pane, click Install. This adds the references for the above packages
3. Drop the FlexGrid component to the form
To drop the C1FlexGrid component to the form, follow the below steps:
- Open Form.cs.
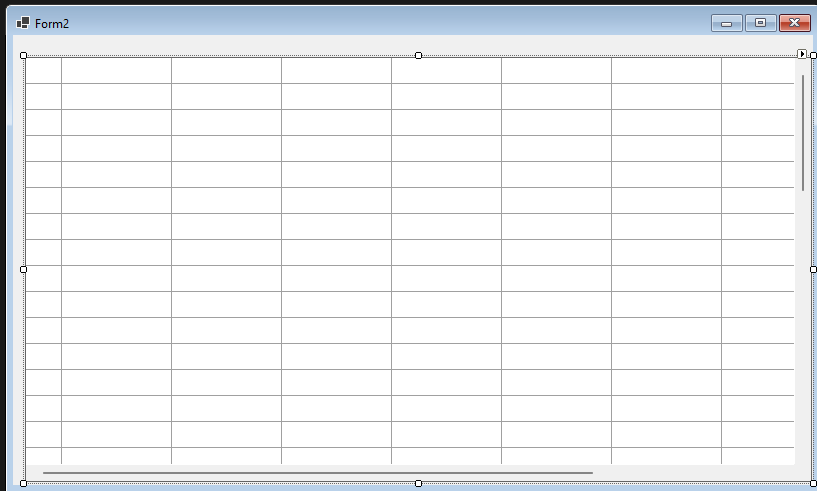
- In the Visual Studio Toolbox search for C1FlexGrid.
- Drag and drop the grid to the form.

4. Use ADO.NET provider for JSON and DataCollection to visualize data
In this sample, a local JSON file is used for demonstration. The JSON file that will be used in this sample can be found here.
First, create a model class that will contain the properties for each column of the table that will be generated from the JSON file data source. Here is the class implementation:
|
コードのコピー
|
|
|---|---|
internal class Data : INotifyPropertyChanged, IEditableObject { // フィールド private string id; private string completed; private string quantity; private string price; [DataMember(Name = "completed")] public string Completed { get => completed; set { if (completed != value) { completed = value; OnPropertyChanged(); } } } [DataMember(Name = "id")] public string Id { get => id; set { if (id != value) { id = value; OnPropertyChanged(); } } } [DataMember(Name = "quantity")] public string Quantity { get => quantity; set { if (quantity != value) { quantity = value; OnPropertyChanged(); } } } [DataMember(Name = "price")] public string Price { get => price; set { if (price != value) { price = value; OnPropertyChanged(); } } } // INotifyPropertyChanged メンバ public event PropertyChangedEventHandler PropertyChanged; private void OnPropertyChanged([CallerMemberName] string propertyName = "") { OnPropertyChanged(new PropertyChangedEventArgs(propertyName)); } protected void OnPropertyChanged(PropertyChangedEventArgs e) { PropertyChanged?.Invoke(this, e); } // IEditableObject メンバ private Data _clone; public void BeginEdit() { _clone = (Data)MemberwiseClone(); } public void CancelEdit() { if (_clone != null) { foreach (var p in GetType().GetRuntimeProperties()) { if (p.CanRead && p.CanWrite) { p.SetValue(this, p.GetValue(_clone, null), null); } } } } public void EndEdit() { _clone = null; } } |
|
The Data class created will be used in the C1DataCollection component to bind the data fetched from the ADO.NET provider for JSON. The next step is to create a connection object from the ADO.NET provider and connect to the JSON file data source to retrieve the data. In the form's load event, configure the provider with the necessary connection string properties:
|
コードのコピー
|
|
|---|---|
string documentConnectionString = $@"Data Model=Document;Uri='theJsonLocalFile.json';Json Path='$.items';Max Page Size=1000"; var con = new C1JsonConnection(documentConnectionString); |
|
After this, the generic C1AdoNetCursorDataCollection class is used for binding the Data class and passing the connection object created. Next, the LoadMoreItemsAsync method automatically uses the connection object to fetch items from the JSON file data source:
|
コードのコピー
|
|
|---|---|
dataCollection = new C1AdoNetCursorDataCollection<Data>(con, "items"); await dataCollection.LoadMoreItemsAsync(); |
|
The dataCollection variable is declared as a field in the Form's class, so it can be used across the class methods.
By using C1AdoNetCursorDataCollection, C1DataCollection will automatically fetch one page of data. When calling LoadMoreItemsAsync, C1DataCollection is responsible for fetching one page of data automatically from the JSON provider connection.
5. Bind data to C1FlexGrid
As a final step, bind the data to C1FlexGrid. With C1DataCollection this can be done automatically by using the C1DataCollectionBindingList class. An instance of this class should be passed to the DataSource property of C1FlexGrid. In the end, the form's load event method should look like this:
|
コードのコピー
|
|
|---|---|
private void Form1_Load(object sender, EventArgs e) { string documentConnectionString = $@"Data Model=Document;Uri='output100k.json';Json Path='$.items';Max Page Size=1000"; var con = new C1JsonConnection(documentConnectionString); dataCollection = new C1AdoNetCursorDataCollection<Data>(con, "items"); await dataCollection.LoadMoreItemsAsync(); c1FlexGrid1.DataSource = new C1DataCollectionBindingList(dataCollection); } |
|
Before everything is complete, there is one more extra step. By default, C1FlexGrid for Winforms doesn't support automatically loading items when scrolling. To support this feature, listen to the C1FlexGrid's AfterScroll event. Inside C1FlexGrid's?AfterScroll event, call the LoadMoreItemsAsync method of C1DataCollection to load the next page of items after the user scrolls down in the table:
|
コードのコピー
|
|
|---|---|
private void c1FlexGrid1_AfterScroll(object sender, C1.Win.FlexGrid.RangeEventArgs e) { if (e.NewRange.BottomRow == c1FlexGrid1.Rows.Count - 1) _ = dataCollection.LoadMoreItemsAsync(); // 次のステートメントは、行番号を示す追加の行を追加します。 for (int i = e.NewRange.TopRow; i <= e.NewRange.BottomRow; i++) { if(i >= 0) c1FlexGrid1[i, 0] = i.ToString(); } } |
|
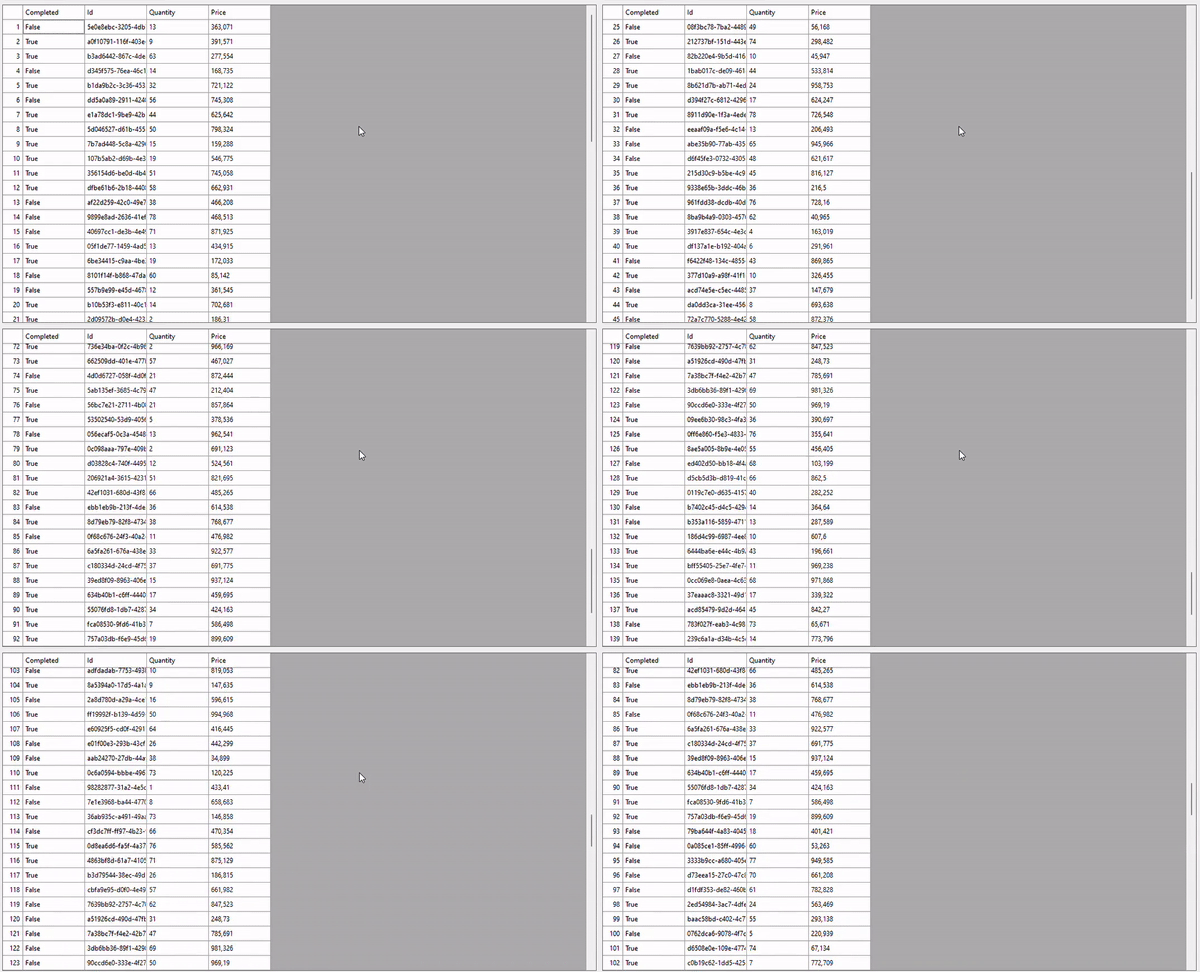
Now, the application is ready to run. While scrolling more data will be displayed in the table:

This sample is also available here.