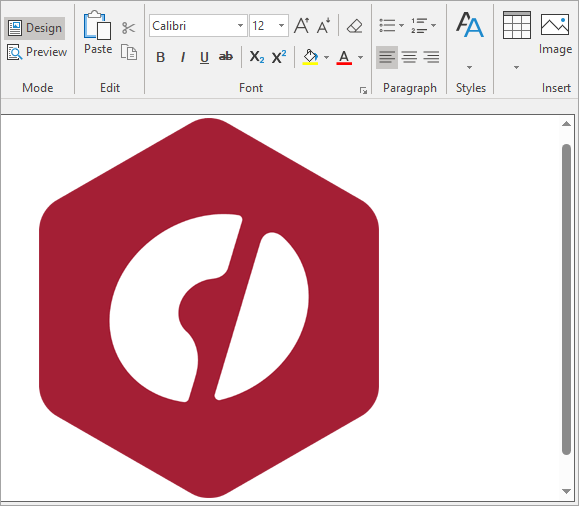
You can insert images at the cursor location in the document using InsertImageAtSelection method of the C1Editor class. This method accepts the source path of the image as parameter. The following code inserts the "C1.png" image from the 'Resources' folder in the sample into the document at the location of the cursor.
| C# |
コードのコピー
|
|---|---|
c1Editor1.InsertImageAtSelection(Image.FromFile(@"Resources/C1.png"));
|
|
The image below is output of the above code snippet.

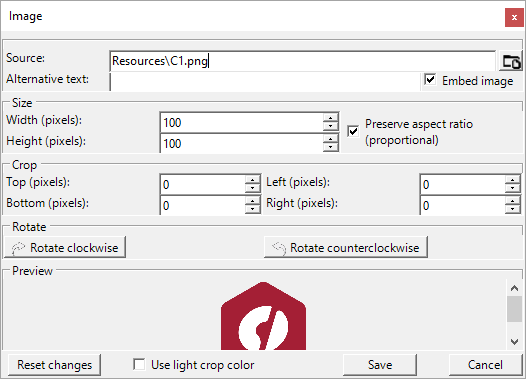
Besides this, you can also insert an image in the document through the EditorRibbon by using the Insert Image option in Insert group. This opens an Image dialog box which provides multiple options like rotate, resize, preserve aspect ratio of the image, and more.

To edit an exisitng image in the document, follow these steps:
- Select the image.
- Click Insert Image option from the Insert group of EditorRibbon to open the Image dialog box for editing the image.
- Click the Save button.
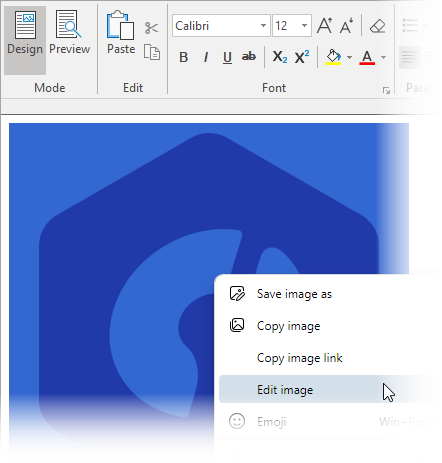
- Right-click on the image, choose the Edit image option from the context menu as shown in the following image to open the Image dialog box for editing.
- Click the Save button.
