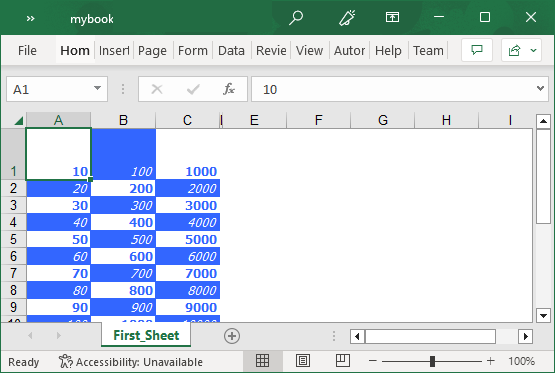
Worksheets have a grid layout that consists of rows and columns. These rows and columns are represented by XLRow and XLColumn classes, respectively. Lets discuss the operations that can be performed on rows and columns in a worksheet.
Add Rows and Columns
You can add rows and columns in a worksheet by using Add method of the XLRowCollection and XLColumnCollection classes, respectively. The following code shows how you can add rows and columns to your worksheets in Excel.
| C# |
コードのコピー
|
|---|---|
XLRow row1 = new XLRow(); //行を追加します。 sheet.Rows.Add(row1); XLColumn col1 = new XLColumn(); //列を追加します。 sheet.Columns.Add(col1); |
|
Set Height and Width
You can set the height and width of rows and columns in a worksheet using Height property of the XLRow class and Width property of the XLColumn class.

The following code shows how to set the height and width of rows and columns in Excel worksheet.
| C# |
コードのコピー
|
|---|---|
//行の高さを設定します。 row1.Height = 100; //列の幅を設定します。 col1.Width = 50; |
|
Hide Rows/Columns
You can choose to hide a specific row/column by setting its Visible property to false.
To hide a specific row/column in worksheet, use the following code.
| C# |
コードのコピー
|
|---|---|
//行を非表示にします。 row1.Visible = false; //列を非表示にします。 col1.Visible = false; |
|
Set Outline Levels
In Excel, outlines are used to display summary rows or columns. You can easily set outline levels for rows and columns in a worksheet by using OutlineLevel property of the XLRow and XLColumn class, respectively. For more information, see Groups and Subtotals.
The following code shows how you can set outline levels of rows and columns in Excel.
| C# |
コードのコピー
|
|---|---|
//アウトラインレベルを設定します。
row1.OutlineLevel= 10;
|
|