FlexGrid for WinForms
カスタムスタイル
スタイル設定と外観 > カスタムスタイル

方法 1:オブジェクトのスタイル設定

WinForms FlexGrid の特定の行、列、またはセル範囲のスタイルを設定するには、行、列、またはセル範囲オブジェクトの StyleNew プロパティを使用できます。

// 特定の行にカスタムスタイルを適用します
c1FlexGrid1.Rows[1].StyleNew.BackColor = Color.Azure;
c1FlexGrid1.Rows[1].StyleNew.ForeColor = Color.BlueViolet;
' 特定の行にカスタムスタイルを適用します
c1FlexGrid1.Rows(1).StyleNew.BackColor = Color.Azure
c1FlexGrid1.Rows(1).StyleNew.ForeColor = Color.BlueViolet  

このアプローチは、スタイルを再利用する必要がない場合に、特定のオブジェクトにスタイルを設定するために便利です。特定のスタイルを再利用するには、次のセクションで説明するように、CellStyle オブジェクトを使用してスタイルを作成する必要があります。

方法 2:再利用可能なスタイルの作成

このアプローチでは、カスタムスタイルを CellStyle クラスのオブジェクトとして作成し、Add メソッドを使用してそれを Styles コレクションに追加します。次に、そのプロパティを定義し、必要に応じて行、列、またはセル範囲に適用します。上記のように、このアプローチは、特定のスタイルを繰り返し使用する必要がある場合にたいへん便利です。

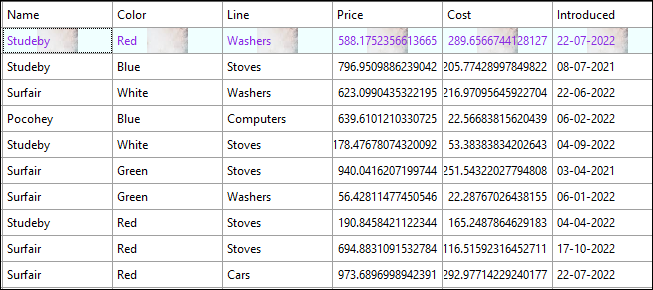
The following image showcases custom styling applied to the first row in FlexGrid.

custom style in grid

Use the following code to apply styling to the first row in FlexGrid by creating a reusable custom style. In this example, we create a new custom style and add it to the Styles collection after defining the BackColorForeColorBackgroundImage, and BackgroundImageLayout properties to be set through the new custom style.

// 新しいスタイルを作成し、スタイルコレクションに追加します
CellStyle cs = this.c1FlexGrid1.Styles.Add("Custom");
                                       
// 新しいカスタムスタイルのプロパティを定義します
cs.BackColor = Color.Azure;
cs.ForeColor = Color.BlueViolet;
// 行にカスタムスタイルを適用します
c1FlexGrid1.Rows[1].Style = cs;
' 新しいスタイルを作成し、スタイルコレクションに追加します
Dim cs As CellStyle = Me.c1FlexGrid1.Styles.Add("Custom")
' 新しいカスタムスタイルのプロパティを定義します
cs.BackColor = Color.Azure
cs.ForeColor = Color.BlueViolet
' 行にカスタムスタイルを適用します
c1FlexGrid1.Rows(1).Style = cs