The Barcode provides the necessary API to customize the appearance of the control. Users can set a definite bar height and bar direction for this purpose. Let's explore customization in detail.
Set Height of the Bars in the Barcode
To control the height of the bars in the Barcode control, the C1BarCode class provides the BarHeight property. With this, you can set the height, in inches, of the barcode's bars. However, if the bar height exceeds the height of the control, this property is ignored.
Set the Direction of Bars in the Barcode
To control the direction of bars in the Barcode control, the C1BarCode class provides the BarDirection property that sets the directions using the BarCodeDirection enumeration.
There are four types of values for this enumeration:
| BarCode Direction values | Description |
| LeftToRight | バーコードシンボルを左から右に印刷します(デフォルト)。 |
| RightToLeft | バーコードシンボルを右から左に印刷します。 |
| BottomToTop | バーコードシンボルを下から上に印刷します。 |
| TopToBottom | バーコードシンボルを上から下に印刷します。 |
Let's see how to set the direction of bars in barcode via code:
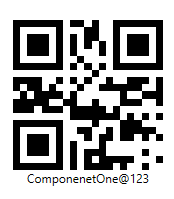
The barcode in its default barcode direction looks like this:

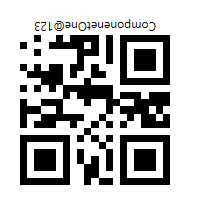
The output of the code snippet with bar direction as RightToLeft looks like this:
